When I discovered the technique for making faux glass eyes using polymer clay, I was over the moon! It was on a random Youtube trail that led to a treasure trove of crafting information. There are so many uses for these, my mind is reeling! Not only suitable for doll eyes, they can also be used to create unique jewelry & artwork.
They really do look like glass!
Learning about Lisa Pavelka® Magic Gloss UV Resin was a great find. It dries/cures using either direct sunlight (UV rays) or a UV light, such as nail-gel drying lights. I happen to have one of those from 25 years ago when I thought I needed my own for my new "gel" nails...I think I used it twice...then it sat in my bathroom cabinet...until now!
I have been sculpting miniatures with polymer clay since the late 1970's but had not yet discovered that I could make such scrumptious eyes for my crafting desires.
The Youtube video that I discovered, quite unexpectedly, on a random excursion has enchanced my crafting experience and given extraordinary embellishment to my creations. If you would like to watch the original video tutorial that I learned how to make these eyes, you can find it here:
I have altered my eye-making process slightly from hers, finding it easier to eliminate the mold-making process for simpler "hole punched" versions which turn out just as splendidly. She has many other eye tutorials with techniques you may wish to explore. Her video tutorials are very detailed and will give you thorough instructions that won't leave you confused.
SUPPLIES:
White Polymer Clay
I used Fimo for this project. I think Fimo works best because it has a firm consistency and is not too soft (even the "soft" version is more firm then Sculpey). You need the clay to hold its shape well as you add the colors, to keep the round shape.

Chalk Pastels
(Not Oil Pastels)
(Such as used for drawing. Available at all craft stores)
*Optional: Mica Powders, Embossing Powders for color accents

Black Acrylic Paint
(to paint pupils)
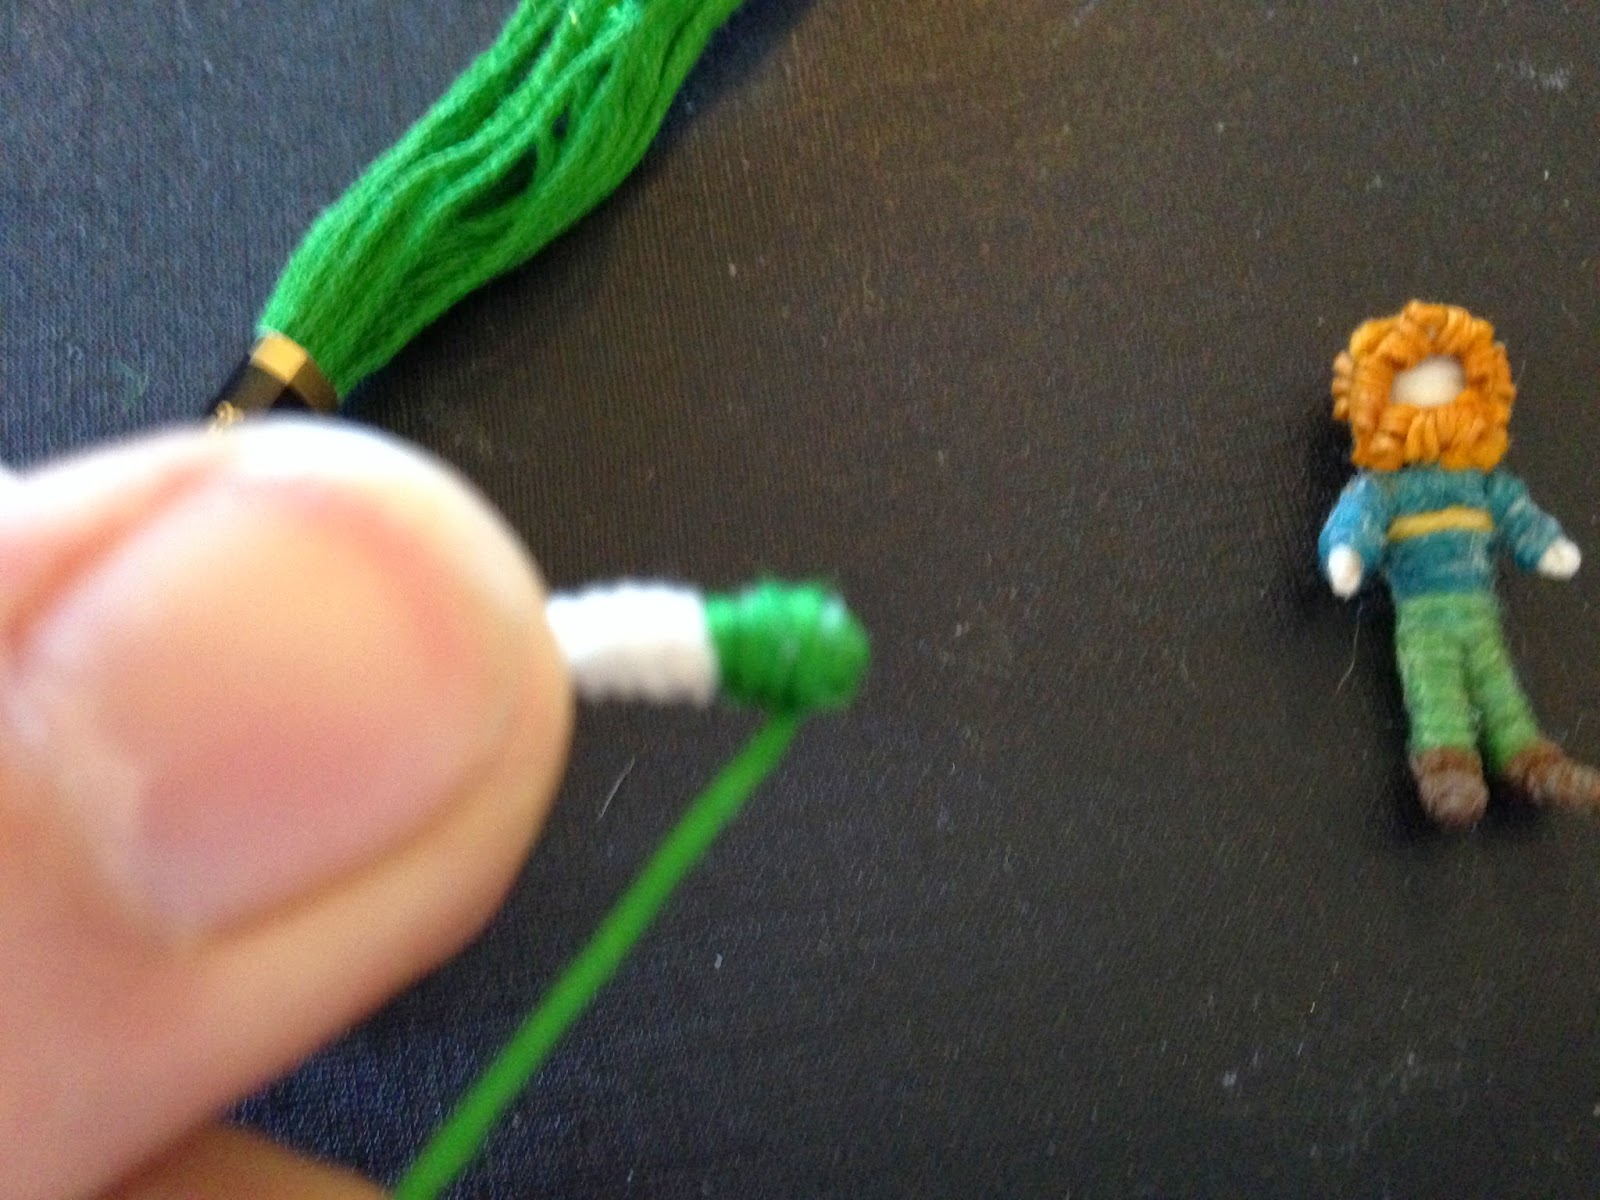
Lisa Pavelka® Magic Gloss UV Resin
(I purchased from Amazon.com you can view the link below)

TOOLS:
Nail "dotting" tools or Round Domed scultpting tools
These are inexpensive at the beauty supply store. I got mine on sale at Sally Beauty Supply, for $7.99 for a set including various sizes.
For larger sizes, you will need to buy them from the polymer clay tools area of your local craft store. You can also use whatever random item you can find that will allow you to press a rounded "crater" in a small piece of polymer clay. This will be the base for the eyeball.


These sculpting tools are fantastic and come in larger sizes which can be used for a multitude of sculpting and crafting situtations.
Micro-Brushes, Small Paintbrushes or Q-tips®
As described in the Fairysinmypond video tutorial, I purchased some micro brushes from the model/hobby section of my local Hobby Lobby store. These are more like tiny "puffs" at the end of the plastic stick, allowing for easy "pick-up" of pastel chalk dust.

Exacto Blade/Craft knife
Used to scrape chalk pastels to form a dust which is applied to the center of the eye to form iris colors.
Leather Hole-Punch Tool (with assorted sizes)
Available at craft stores. I purchased mine from Hobby Lobby.

Let's Get Started!
1. Knead and soften clay then roll into a long snake shape. Flatten to approx. 1/8" (inch) thick. Smooth out fingerprints or markings on the clay to smooth.
2. Using an exacto knife or craft blade, scrape along side or edge of white chalk pastel to form a small pile of white dust on a piece of aluminum foil. You will use this much like "flour" when you are making bread, to keep the stuff from sticking!

3. Using the hole-punch with the size you have chosen, press the hole punch first into the pile of white pastel dust, tap off excess, then press into the clay strip to form round eye bases.
Depending on your craft project, the size of the eyes you will need can vary. Experimentation is your best friend. My suggestion is to make lots of varied sizes so you have a lot of choices when it comes time to use them on a project.
*If the clay sticks inside of the tool, just push it out with a cotton-swab or piece of chenile stem. The eye "crater" indentation you will bemaking with the sculpting tool will press out any markings the cotton-swab might leave on the clay in the removal process. But if you dust the tool well with a tap of chalk dust, most of the circles will stay put on the strip of clay until you pull away the excess.


4. Using a rounded end sculpting tool, press a "crater" carefully into the center of the clay disc, forming an indentation for the iris color. The more you do, the easier it gets.

You can see from the above photo, that I was able to press out all of the markings from the ones that got stuck inside of the hole punch tool. I have the piece of chenile stem in the photo because thats what I used to poke out the stuck pieces.
5. Using an exacto blade/craft knife, scrape the end or side of chalk pastels in the colors you have chosen for your eyes, onto a work surface of aluminum foil. All combinations work well together, so use your imagination.

6. Using your micro-brush, gently dip it into the chalk pastel powder, then carefully (trying not to drop powder on outside of crater) then dab the micro-brush with color into the eye crater, tapping and lightly pressing the color into the unbaked polymer clay. Continue dipping into the color dust, then dabbing into the crater until you have achieved a well saturated color. If you wish to make varigated color eyes, dab colors into separate areas of the crater as you lay it in.

The photo above shows the first color (red) laid into the crater, for rainbow eyes. Each color is carefully placed inside to cover all white areas. Once you have finished laying in the colors, take a small brush dipped in the white chalk powder and go around the outside of the eye-white, brushing from the base upwards towards the crater edge, using the white powder to help clean up any color dust that may have escaped from the crater.
7. Using the same round tool that you made the crater with, press gently but firmly into the color dust to secure it to the clay crater, being careful not to lose the round shape.
8. You can add some optional "sparkle" to the eyes by adding a few tiny flecks of mica powders or embossing powder (Srapbooking section of the craft store), on top of the chalk pastel color. Add a tiny amount (especially if you are using embossing powder) so you don't cover your initial colors totally from view. Press the embellishment powders into clay with the round tool to secure.

9. Bake eyes (prior to painting the black pupil) in a 275 degree F. oven for 12-15 minutes. Ovens vary, so do a "test bake" with one pair of eyes first, before baking an entire batch. You would be heartbroken if they ended up burnt! See package instructions for recommended baking times and temperatures for other types of polymer clay.
I like to make my eyes in pairs on separate tiny pieces of aluminum foil so I can keep them together and make them as similar as possible, then bake them directly on the tiny piece of foil that I transfer to a baking sheet. If you have a ceramic tile, they are great for baking polymer clay, and you can bake them directly on the ceramic tile.
If you find that the aluminum foil piece slides around, you can temporarily secure it by placing a small piece of double-stick tape underneath. This will secure it to your work surface (or work tray, as I like to use). When you are ready to bake, carefully remove the double stick tape from the foil (do this slowly and very carefully so you do not disturb the shape of your eyes) and place on your baking sheet or ceramic tile for baking.

10. After baking, allow eyes to cool completely. They will still be flexible while they are warm, but will firm up once cooled.
*If you used embossing powder, you will see that it has gently spread across the iris and created an irridescent effect, depending on what color you used.
11. Using a very small dotting tool, take a tiny bit of black paint and touch it to the direct center of the eye crater to make the "pupil". Allow to dry completely.

12. Using the same round scultpting tool that you made the eye "crater" with, dip into the Lisa Pavelka® Magic Gloss (just as if it was a paintbrush) then drop the resin carefully into the eye cavity. You want a nice rounded dome to form over the crater, so if you need additional resin, dip it in again and drop additional resin to form a full rounded eye.

You will be amazed at how big of a dome you can achieve with this resin. Be careful not to allow it to fall over the edge of the crater though, because once a "leak" happens, you will need to do some wiping and clean-up around the eye with drips. This is not a happy moment to endure. But everything can be repaired, so do not fret! Simply wipe off and start again.
*The Lisa Pavelka® Magic Gloss resin will not dry on its own. You need to either place it in direct sunlight to cure, or use a UV light for curing. I use my gel nail polish UV light dryer that I purchased 25+ years ago. I barely used it for my short-lived fake-nail experience, but I kept it in my bathroom cabinet for some crazy reason...and now I know...the crazy reason...these EYES!!!

I am crazy for these eyes!
I love them so much that I plan on making some fun jewelry pieces that I can wear! I'm letting my imagination run wild, so stay tuned!!
I hope you enjoy exploring the world of polymer clay and its many wonderful possibilities!
Please leave a comment below and let me know what you think you ofthis project, and what you might be able to make with these magical eyes!
Have Fun Being Creative!!
With Sugarplum Hugs!
Deanne