
Here we go again...
Pom poms have taken over my universe!
I'm sure its because I discovered Clover® pom pom makers! The tool makes it so easy to whip up the pom poms, that my mind has been let loose to create an entire menagerie.
The next edition of Pom Pom Mania introduces my version of Raggedy Ann for your crafting pleasure!
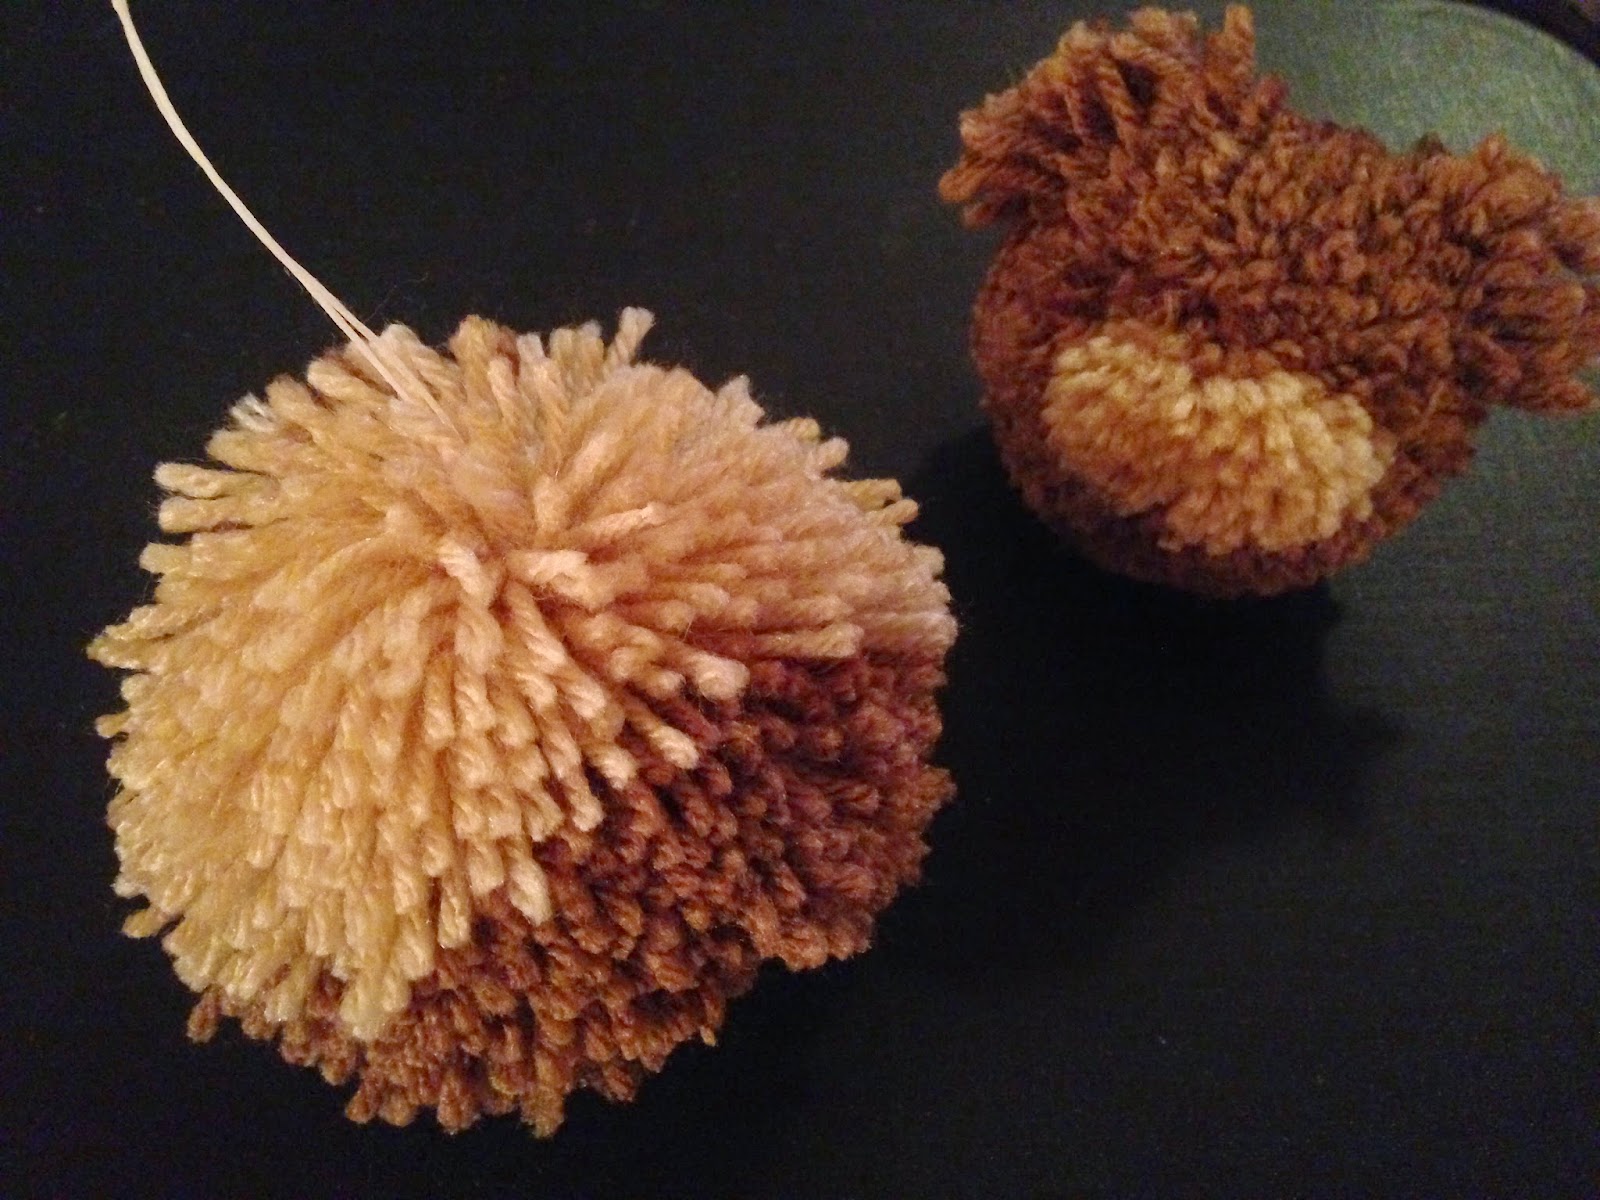
Raggedy Ann is pictured in the photo above with my pom pom Teddybear that you can make also...(Free Teddybear tutorial: Here)
Are you ready to get started?
Here's what you need...
Supplies:
Red Heart® yarn
(colors: red, white, flesh, black, sky blue)
Clover® Pom Pom Makers
Sizes: 1-3/8", 2-1/2", 3-3/8"
Sizes: 1-3/8", 2-1/2", 3-3/8"
(link to Amazon.com product list: Here)
OR
Make your own cardboard pom pom maker template: Here
Waxed cord or strong carpet/craft thread
(to tie pom poms)
*Optional: 8mm-10mm black beads (for eyes)
OR
Felt: black, red
(for eyes, nose & mouth, if desired)
I chose not to make a face because I liked her this way!
Tacky craft glue (needed only if you decide to use felt shapes for the eyes, nose and mouth)
Good sharp scissors
Are you all set?
Okay, Let's get started!!
Head:

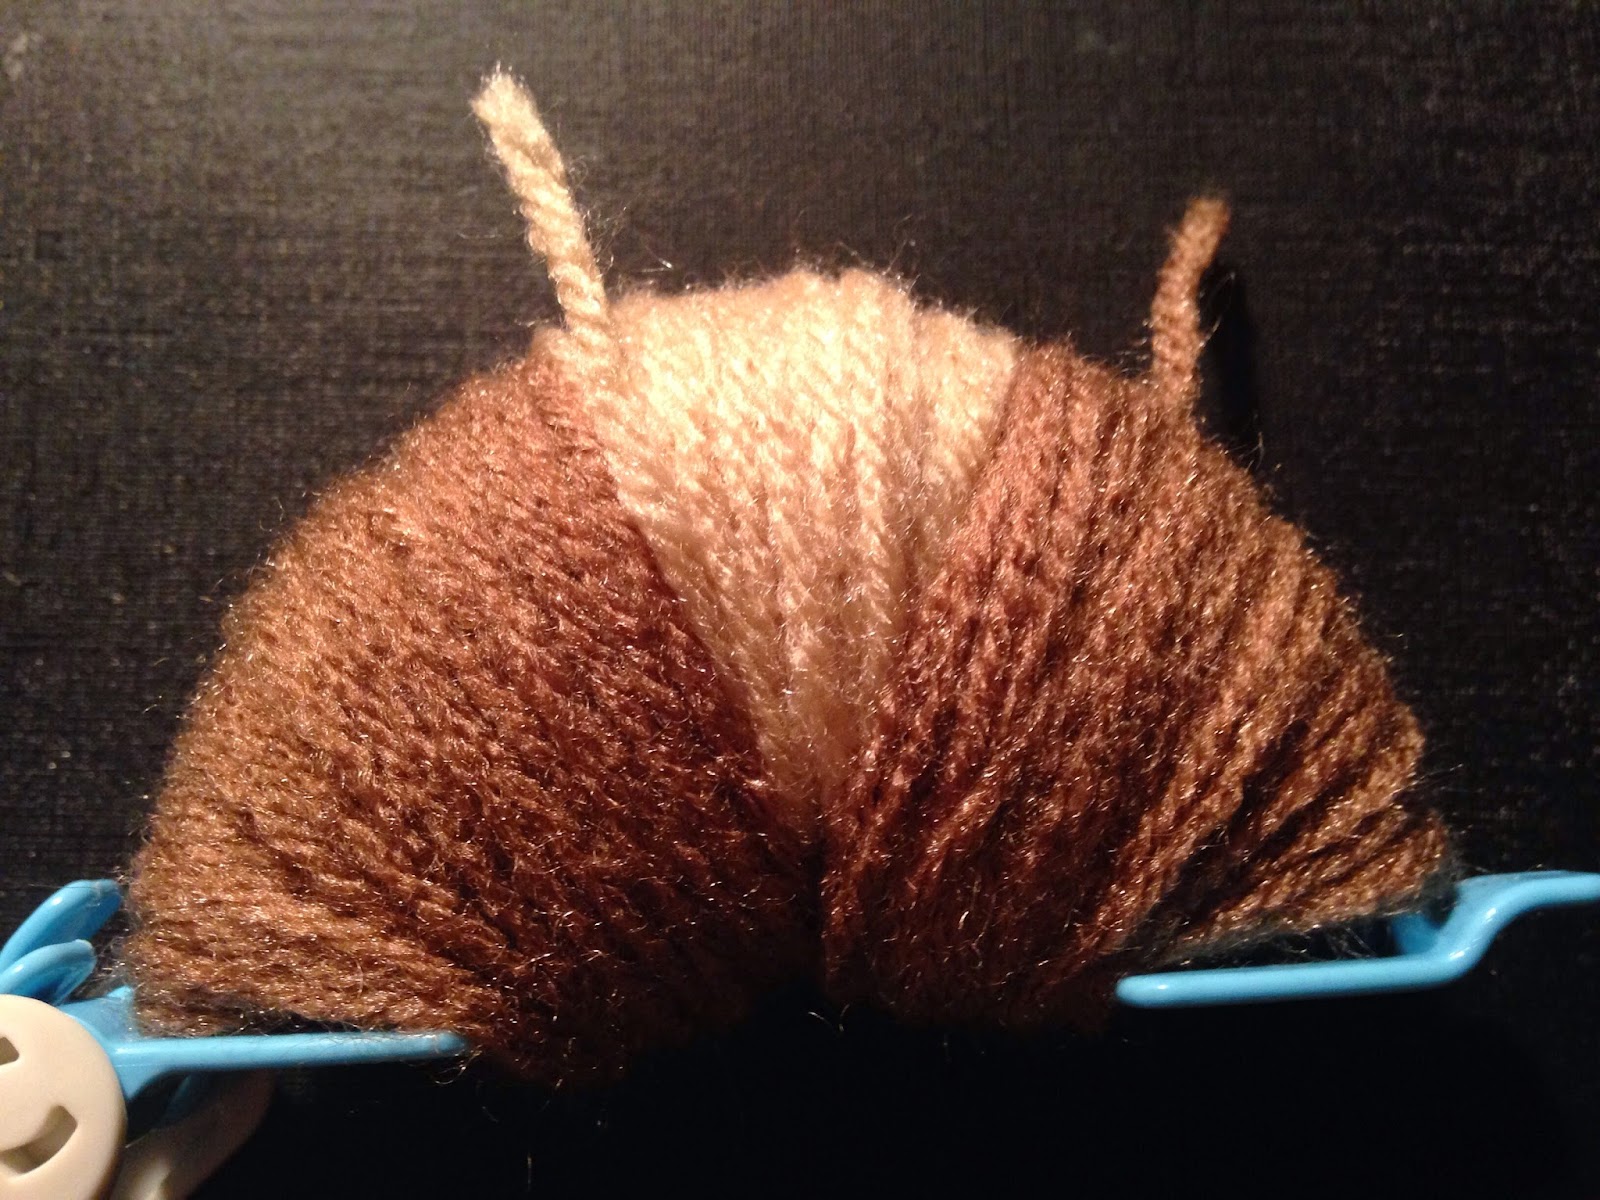
Using the Clover® 2-1/2" light green pom pom maker with light pink (flesh choice), wrap the center of one half of the tool GENEROUSLY as pictured above. This will be the "face" area.

With red yarn, wrap on either side of the pink yarn, as in the photo above. This will be the hair that frames her face, so wrap fully.

Wrap the opposite half of the Clover® pom pom tool fully with red. This will be Raggedy Ann's hair so make it a full wrap!

Cut the end loops of the pom pom (through the channel in the pom pom maker), then tie snugly with waxed cord or strong carpet thread (as directed in package instructions) to secure the pom pom.
What a mess!
But not for long...

Trim the light pink yarn into a half round shape for the face, leaving the red yarn pieces long and straggly to look like hair. Trim carefully and thoughtfully, because it won't grow back!
Dress/Body:

Wrap one half of the Clover® 3-3/8" pom pom maker with approx. 15-20 wraps of sky blue (I know, it looks lavender in this photo, but I promise you it was blue!)

Then using white yarn, wrap over the blue yarn, covering it completely with a generous layer of white. This will be the "apron" fluff you see in the finished photo.

Next, wrap blue yarn over the white , covering it completely and evenly. (the color looks grey in the photo above, but it is light blue, again...I promise!)

Wrap the opposite side of the pom pom maker entirely in blue yarn, then fold the mechanism into the tool to secure. Cut the loop ends in the tool, (as described in the package directions for your pom pom tool OR in the handmade cardboard template directions) and tie securely with waxed cord or carpet thread. I like to triple knot the pom pom cord to make sure it holds.

Remove the body/dress from the pom pom maker and fluff up by shaking while you hang on tightly to the cord ends.
Again...what a mess!!
Time for a haircut...

Trim into a rounded triangle shape (does that make sense?)
I hope you can see in the photo that it isn't strictly round or oval, it is actually almost a rounded wedge-ish shape to simulate a dress skirt. You want the "apron" white fibers to be long and the blue "dress" fibers to be trimmed uniformly. Go slow and you'll have it in great shape in no time!
Legs:

Using the Clover® pink 1-3/8" pom pom maker, wrap a thin even layer of white yarn on one half of the tool. Then wrap a thin layer of red yarn to cover the white. Repeat another row of white yarn to cover the red. Repeat this process on the opposite half of the pom pom maker. This will create a striped pattern for the socks/legs.

Trim the loop ends in the pom pom maker, then tie securely with waxed cord or strong carpet thread.

Remove from pom pom maker and shake out to fluff.
That's a pretty good looking start, don't you think?

Keep making them!
You'll need 4 in total to make Raggedy Ann's stockings.

Here's the line-up pile after all the pieces have been made, but only the head and dress have been trimmed into shape, so far!
Let's catch up!

To make the "shoes" use the Clover® pink 1-3/8" tool, wrapping approx. 10-15 times with white yarn in the center top (which creates the socks that will blend in with the striped pom pom stockings), then wrap the rest of the tool entirely with black. Wrap the opposite half of the pom pom tool with solid black. Cut the loop ends then tie securely with waxed cord, remove from the pom pom maker, then trim into a round shape. (see photo above)
Arms:

Using the Clover® pink 1-3/8" pom pom maker, wrap the tool on both halves with blue to match the dress. Cut the ends, tie with waxed cord, and shake to fluff, as you know to do by now! You will need 4 of these in total.
Hands:

Using the Clover® pink 1-3/8" pom pom maker, wrap half with blue to match the dress. Wrap the other half of the pom pom tool with pink to match the face. Cut the loop ends, tie with faces cord, and shake to fluff, then trim into a round shape. This Annie's hand!
Assembling the Doll:

To join the parts together, I used strong waxed cord instead of yarn (as I used making the teddybear) because I wanted it to be sturdy enough to be played with by a child.
Starting with your doubled and knotted needle & thread, go through from the top of the doll's head along the line where the face meets the hair (hiding the knot deeply in the middle of the pom pom), bringing the needle out from the bottom of the head at the line between the "chin" and hair. (Okay, I know she doesn't really have a chin, but its the most sensible reference I could muster! lol)

Take the needle & waxed cord into the dress body (separating yarn fibers with your fingers to best avoid snagging and disrupting the fibers) as in the photo above, even with the top edge of the "apron", going through the body bringing the needle out, just to the side of the center bottom (where you will attach the leg-see photo below).

Add the first striped leg pom pom, taking the needle & thread through the center of the pom pom so that the stripes will lay in a pleasing horizontal pattern as you add the next striped pom pom.
Take the needle through the next striped pom pom, making sure to keep the stripes as level as possible. Remember, its a pom pom, so it has a mind of its own, don't be too fretful if it isn't exact. That is part of the charm!
Next, take the needle through the center of the white "sock" area of the "shoe" pom pom, going straight through to the bottom. Pull snugly to created a solid leg shape. Take the needle back up through the "shoe" and each of the leg pieces, up to the body, pulling snugly again to secure; then go up through the body with the needle to the opposite side of the body where the arm will go.

With the needle exiting at the upper body on the opposite side of the leg you just made, add the two arm pom poms, going directly through the center of each; then go through the blue side of the "hand" pom pom, coming directly out the center of the pink yarn.

Then take the needle back up through the hand and arm pieces, pulling in snugly to create its solid arm shape.


Next, take the needle through the body directly across to the opposite arm area; attach the arm pom poms and the hand pom pom, just as you did for the opposite side, going down through each one, then coming back up through the center of each, pulling in snugly to form the arm shape. (see photos above)

From the upper arm-pit area, take the needle & waxed cord back down through the body, to the opposite leg area, where you attach each striped pom pom and then the shoe pom pom, just as you did for the opposite leg.

Go back up through the center of the shoe and then through each of the striped leg pieces, up to the lower body, pulling in snugly to shape the leg into a solid form that you like. Take the needle back up through the body to an arm-pit or other hidden area and knot off the assembly thread, hiding the knot deep inside the yarn fibers.
*Tip: If you want to add a bit more security to your assembled doll, place a small dab of glue on the knot to make sure it holds!


*Tip: If you find that your "apron" is too thin and straggly or it has "bald spots" you can add more yarn into the area as a hidden fix!
Double-thread a needle with white yarn (Do not knot the end!) then take the needle into the apron area where you need more substance, going through and out of another area of the apron where you need additional fibers. Leave long ends that match the established "apron" area, trimming as necessary to match the ends. You can repeat this process as many times as necessary to get the look you want. I did this to get the full apron look I wanted!

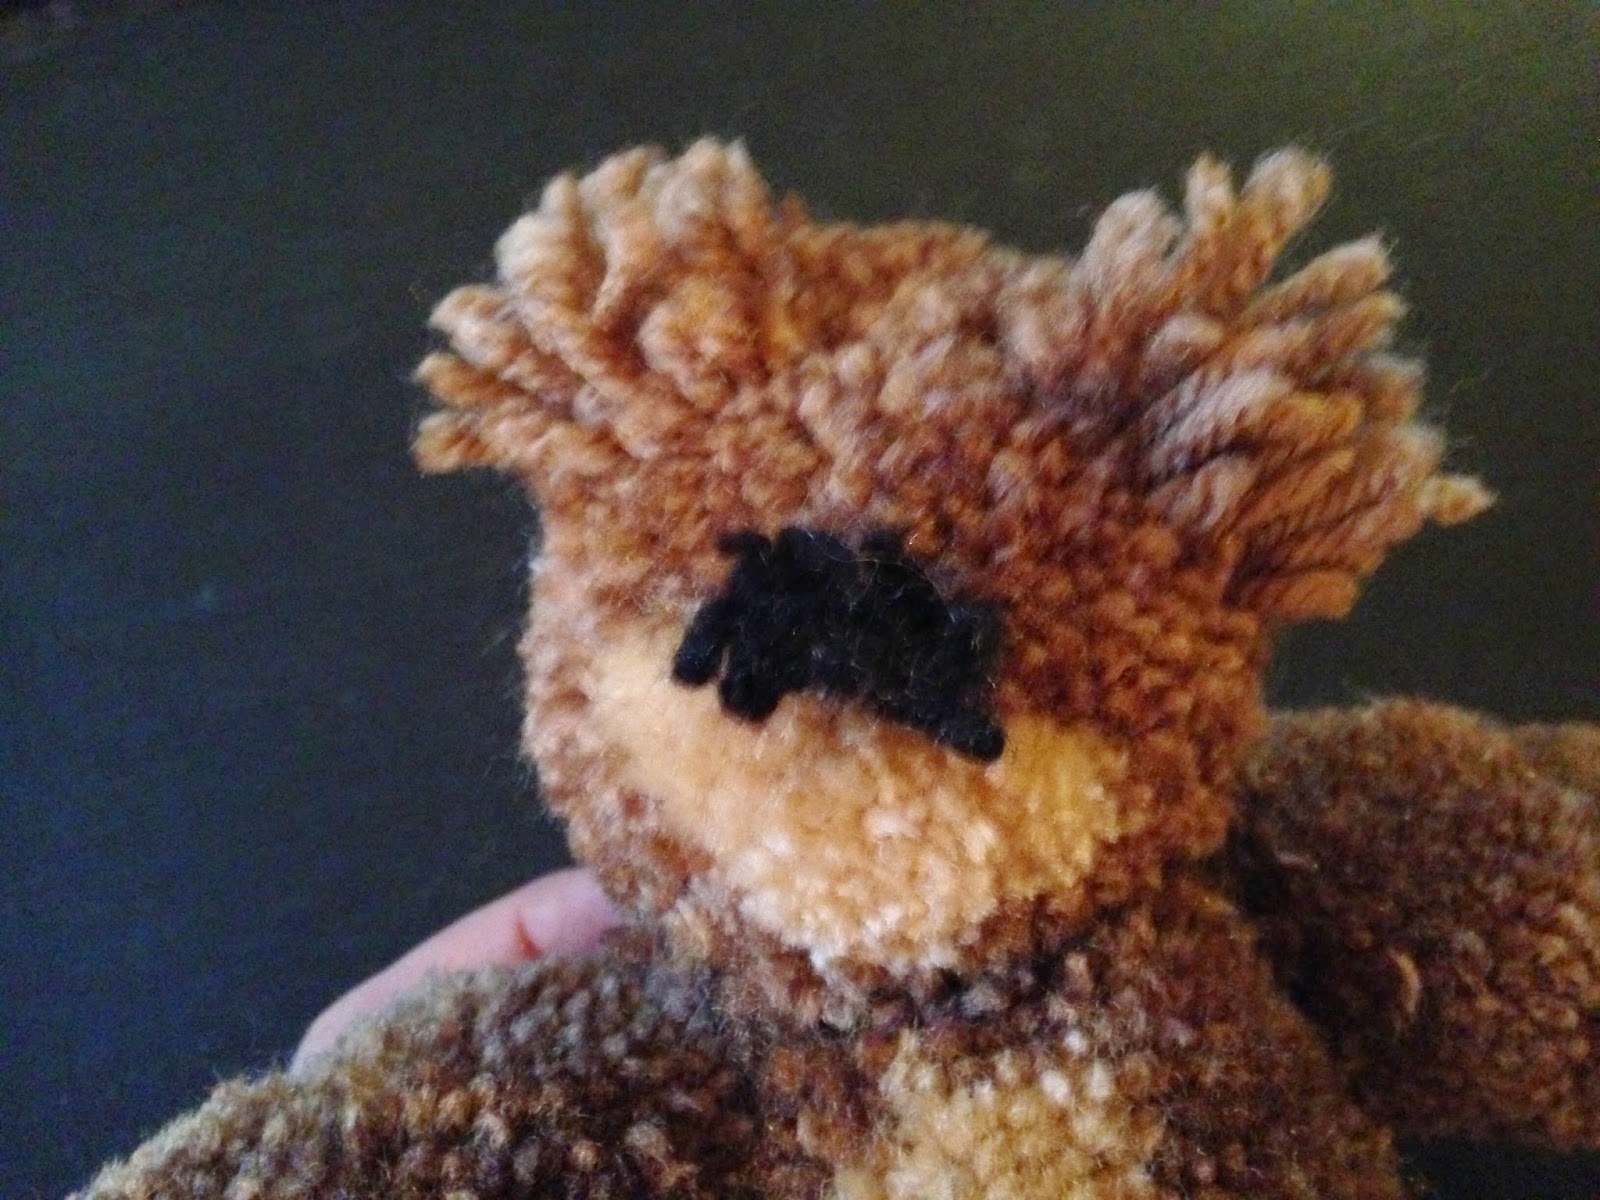
Hello Beautiful!!
Here she is in All-American Pastime Glory...
Raggedy Ann will steal your heart with a face or not, its up to you! I like this "anonymous" version...she can be played with and imagined to have any kind of facial expression this way. And she is more safe for young children to play with.
If you want to add a classic Raggedy Ann face, I won't judge you!
Just find an image of her face (in a book or on the internet) that you bond with, and cut out felt shapes to glue in place for her eyes, nose and mouth. Or you can tack/sew 8mm-10mm black bead eyes in place if you prefer.
There is no wrong way to do this...its your creation, so do it your way! Whatever makes you happy, makes me happy too!!
I hope you enjoyed this adventure in Pom Pom Mania!
Please let me know what you think, and what you're working on, I'd love to hear about it!
With Sugarplum Hugs!
Deanne
:)


