
Are you as tired of those ugly wimpy silver or green wire hangers that are available to purchase for the holiday season?
Me, too!!!
So I decided to take my despair into my own hands and spend a little crafty time with my 20 gauge colored wire.
Here's the fun alternative I came up with...
Whimsical Swirled and twirled coils that are perfect for a fun Christmas (or anytime) display!
They are simple to make with a few standard tools, just a spin of your fingers and voila! In a matter of minutes you will have a whole collection of beautiful ornament hangers to decorate with!
Your ornament collection will thank you!
Supplies:
20 gauge wire in various colors
Tools:
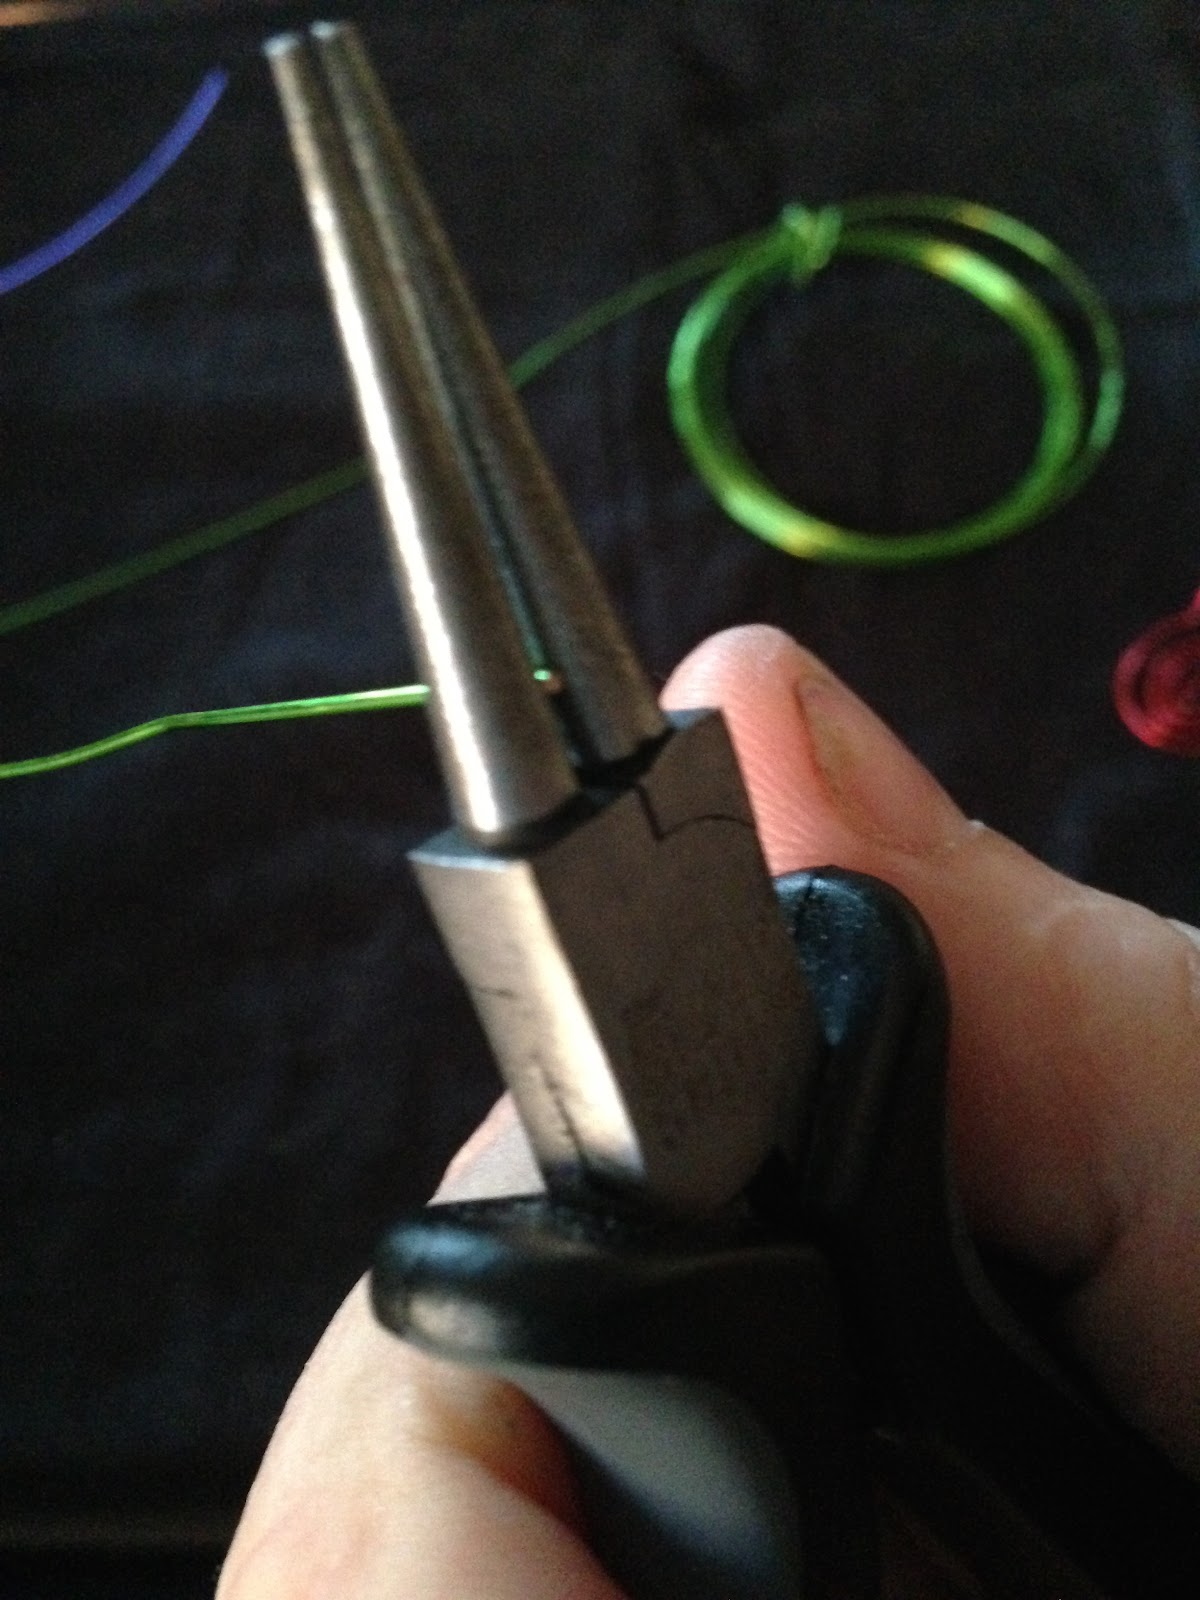
Round nosed needle-nose pliers
Wire cutters or strong scissors
Extra large cuticle stick (approx. 1/4-inch diameter)
Thats it!!
Directions:
1. Keeping the wire attached to the spool (to limit waste), pull out slack of 10 inches to work with and grab the end of wire with needle-nose pliers.
2. Bend into a 3/4 circle (not quite complete). The 3/4 circle should look like this...(see below)

3. Put the pliers down and grasp the partial circle between your thumb and pointer finger (flat across the surface) and begin to wind the wire into a flat coil.

4. It will eventually look like this...(see below). Don't worry about making it exactly perfect, the whimsical look is enhanced by lack of perfect symmetry...a good reason to relax and enjoy the process!

5. When the coil is approximately 4-5 rows (or as large as you prefer), bend the wire at an angle to come straight upward from the coil swirl. (see below)

6. Take the large cuticle stick with the pointed end directed towards the center of the coil (a larger cuticle stick will make a wider coil, a smaller one will be a skinnier coil), and hold tightly with your fingers while simultaneously holding the coil (this can be tricky as the stick likes to slip out of the grip, but you'll get the hang of it!)

7. Then begin wrapping the wire at the pointed end of the stick. It will gradually widen as you wrap up the tapered end of the stick, coiling it upward towards the thick part.


7. Continue wrapping up the stick for approximately 7 turns (or as many as you like), then bend the wire straight along the stick to begin creating the hanger hook.

8. Bend the wire into a hook shape approximately 1-1/2-inch long on each side.

9. Trim the end of wire, leaving enough length to form a nice hook to hang for decoration.

10. Using needle-nosed pliers, grasp the end of the hook and bend around into a tiny loop.

11. This tiny loop will keep the hanger from scratching any of your precious ornaments, or snagging anything that might rub against it.

12. Voila! You are now an official ornament hanger maker!!

12. Give yourself a pat on the back, and get ready to start your holiday decorations...its never to early to start!!

Be sure to leave a comment and let me know what you think! And please share you photos so we can see what magical things you are doing with your whimsical ornament hangers!!
With Sugarplum Hugs!
Deanne
XO
They are lovely. I am bookmarking your blog.
ReplyDeleteThank you, Cherie! I haven't posted as much as I would like to, but have lots of new projects in the que to share!! I look forward to hearing from you and how you like them!! Thanks for stopping by and bookmarking!
Delete