Monday, October 6, 2014

Forever Cakes!


I love cake!

Who doesn't? 
(If you don't...don't tell me!!)

The one sad thing about cake, is eating it...not that the actual eating part is sad, its just that the eating part destroys the beautiful artistry part, turning it into a pile of crumbs and frosting swipes on an empty plate. There's no getting around it. That's just the way the story goes...

Sure, a tummy laden with sugary goodness, is the marvelous outcome, but what else? 

NOTHING! 

Nothing to show for the magnificent Cake-tastical-ness you just experienced...except for photographs and quickly fading memories.


So I had the idea (on many occasions) in the past, to create an "Eternal" cake. Hey, don't get fussy with me...I realize they most likely will not last eternally...but they'll come far closer than any baked cake you'll come across! 

To put my idea into action, for my parents 50th wedding anniversary several years ago, not only did I whollop my parents with a grandiouse surprise party that nearly gave them each a heart attack, I also created what I call a "Forever Cake" for them. I made it out of styrofoam discs, glued together, then decorated with silk flower blossoms and fun retro-style Wedding Couple on the top. 
(I will post a photo as soon as I get to my mom's and take one)
  My parents "Forever" cake was a big hit at the party, and still sits with honor, on their antique hutch in the kitchen, 10 years later!

When my BFF Tina's 50th birthday made its way to my crafty world, I needed to come up with something reeeeeally special for her. You see, My "T" is one of the most incredible people I know...overcome more hardships then I'd care to recall...and then she rose from the destruction and the ashes like a glorious Phoenix in flight! I love Tina more than any sister I might have ever had, if life had chosen to give me one through blood. 

For Tina's 50th celebration, she planned a tropical getaway for the family and close friends, to the heavenly island of Maui. With great disappointment, my beloved "Romeo" and I were not able to join them, as the Dodgers had made the playoffs, and his coaching position put a kabosh on any idea of travel. Once I stopped sulking, and feeling sorry for myself, I began plans for bringing the tropics, back to Arizona, in a "Forever Cake" for Tina.

Tina and I share a deep love for Hawaii. I traveled with my family as a child there, falling in love with the islands immediately, and then attended college on Oahu, at the University of Hawaii at Manoa, meeting and falling deeply in love with my husband, Chuck (33 years and counting!!). 

Tina also loves Dolphin, so when it came time to decide on a theme for her "Forever Cake"...it was a "Piece of Cake"! 
(Hey now, don't think I don't hear your guffah on the pun!)


Assembling the Cake:

Supplies:
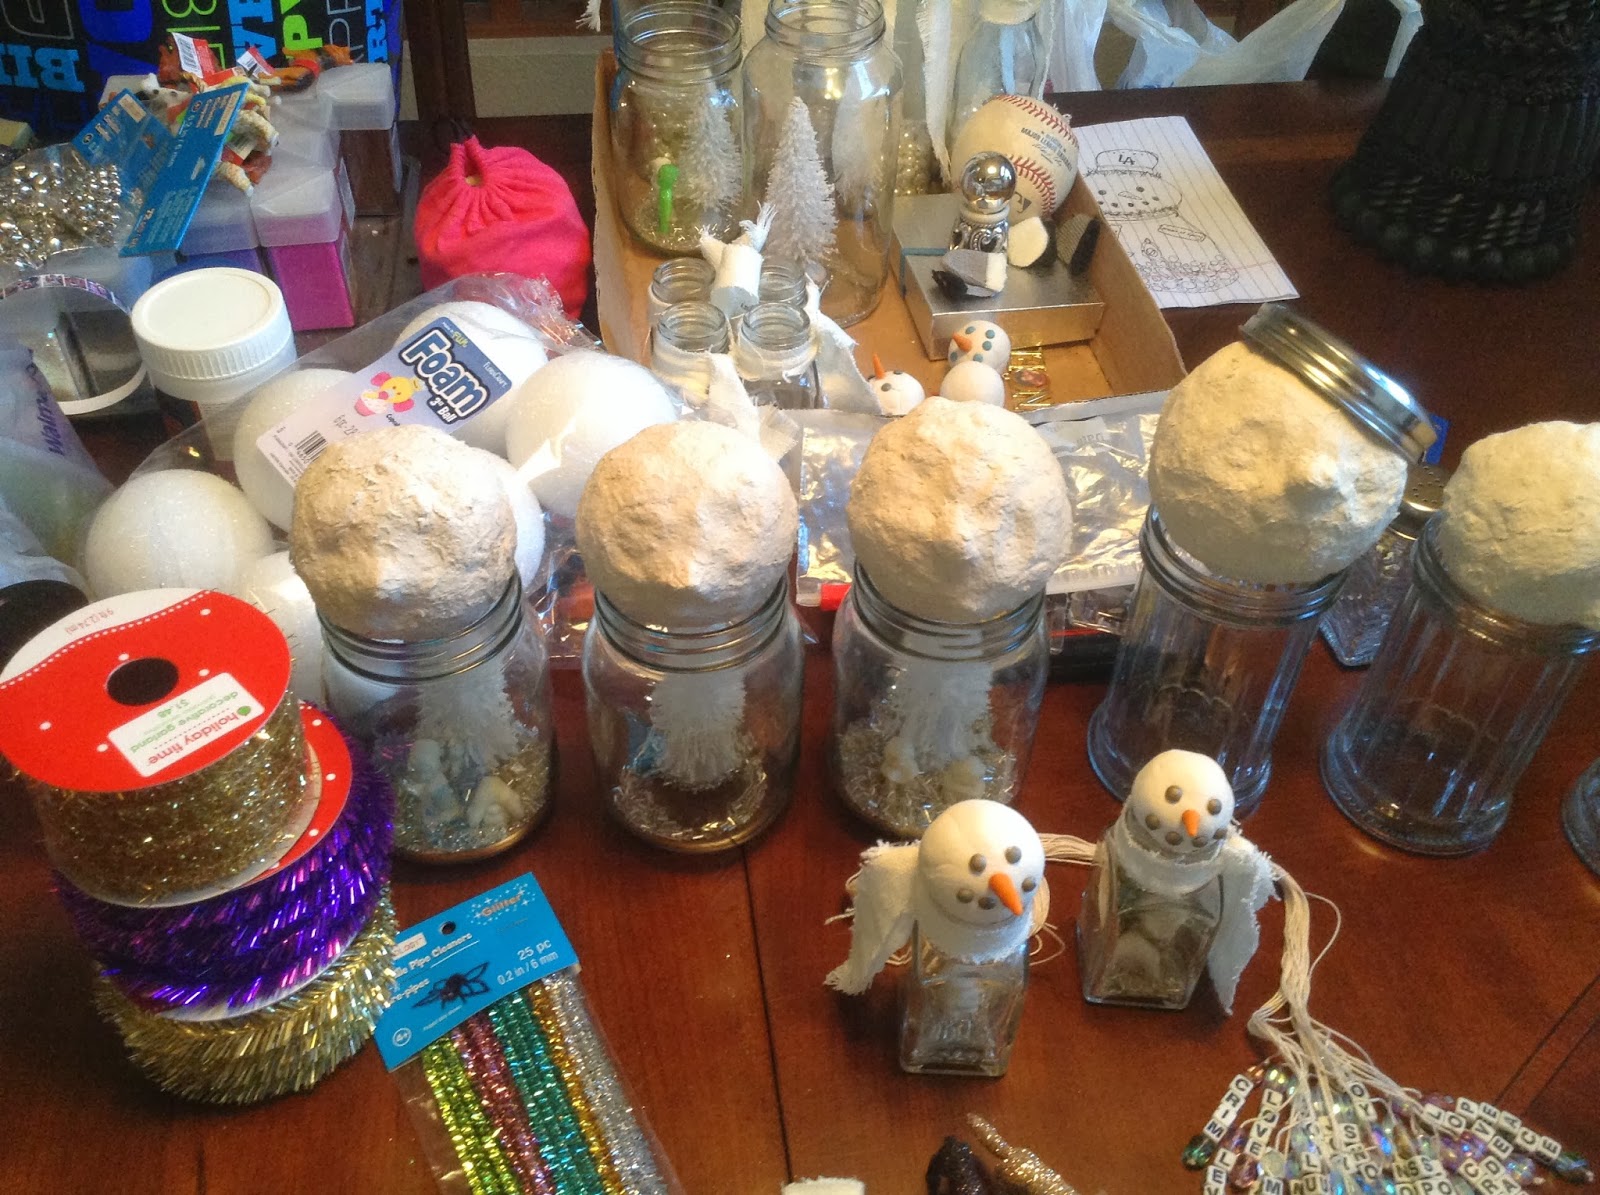
Styrofoam discs (4) size depends on your desired cake size
(I used 4 discs approx. 5" in diameter, purchased in packs of 2 from my local Dollar Tree store)

(1) Styrofoam ball approx. 2-1/2" in diameter (cut in half with a serrated knife or exacto blade) to shape the center of the "island"

Tacky Craft Glue
(I used Aleene's tacky craft glue in the gold bottle)

2-3 tubes of Acrylic Bathroom Caulking (Bright White)
(purchased from Home Depot in the paint section-construction tube: $2.88 each)


Acrylic Paint in various colors for "frosting:
(I used Liquitex Acrylic Paint in plastic tubes, but you can use any kind of Acrylic paint)


Plastic Toys, Beads, Metal Charms, Miniature Palm Tree (purchased from Hobby Bench store), shells, etc. and any decorations you want to use to achieve the theme you are going for on the cake top

Foam glitter stickers or other embellishments for the side of cake decorations


Several heavy-duty gallon size ziplock bags
(for mixing frosting & using as a "piping bag")

Non-stick surface to work on OR plastic wrap laid on a counter-top


Assembling the Cake:

First, glue the 4 styrofoam discs together, using the tacky craft glue. Allow to dry completely. If the discs are different sizes slightly, you can use sand paper to make them more even, but truthfully, the "frosting will cover any uneven areas.


Then glue one of the halves of the 2-1/2" styrofoam ball onto the top center of the cake. This will be the shape to form the island hilltop, which is easier then trying to mound the "frosting" manageably and evenly.

Next, I started temporarily placing the embellishments onto the styrofoam base, just to get an idea of where I wanted the items to live happily. Don't ask me how much anxiety I get when I find the best layout, and then have to remove them! 
(Hint: take a photo if you're afraid you'll forget!) 


Making the "Frosting"

Use a large heavy duty zip lock bag (do not take a chance on budget bags because the last thing you want, is caulking all over your counter when a cheap bag seam breaks!!)

If you have a caulking gun handle, use it! I didn't want to spend $6.00 to buy one (and forgot my hubby already had one), so my first two tubes, I just cut the tip off the tube of caulking, and used a heavy handled wooden spoon to push the bottom of the tube where the plunger part is. It took so much strength to squeeze out the stuff from the tube. OMG! I am still sore today from it! lol 

So my expert advice, is to ask your husband if you have a caulking gun handle!  My third tube was a breeze to empty into the bag, using the caulking gun.


Next, squeeze some paint into the bag, depending on how much "cake" you are frosting, adjust how much caulking you put into the bag. There isn't any real formula for deciding how much...perhaps if you have a friend who decorates real cakes, they can share their suggestions for quantities that it takes to frost a certain size cake. The amount of paint you use depends on the intensity of the color you are going for. I used three different colors of blue paint to achieve a varigated blue color for the water. I didn't mix it completely so that it kept the various striations of color. 


For the sand I blended the colors so that they were a uniform color and completely encorporated with the caulking. You can also purchase colored caulking in natural colors if you prefer not to have to blend your own colors.


Once the sand color was blended, I cut a small point off the corner of the plastic bag to begin applying the sand frosting to the top of the cake. I glued the palm tree in place first to make sure it was located where I wanted it to be, and I frosted around it, just squeezing the caulking evenly over the styrofoam to make a smooth "sand" type of appearance.


While the sand is still wet (it will begin to dry quickly on the outside, so don't wait too long before applying your cake top decorations.


I added a ceramic Hula Dancer bead, a metal Castle charm with the loop nipped off (sanded smooth with an emery board) that I painted with 2 coats of gold glitter nail polish, tiny seashells, a beach-chair charm (loop removed), and a few flower bell beads that I glued a crystal into the center, a sea turtle charm, and a mermaid charm (with loop nipped off). 

Next I added a small band of white caulking to border the edge of the sand. This is to look like the waves foaming on the shoreline. Using my blend of blues I made the water color, using approx. 2 tubes of caulking to complete the entire cake surface and circumference. I completed the top of the cake with an additional border of "water" frosting, making sure to leave a place for the mermaid, sea turtle, and the surfer. 


When frosting the cake, be sure to do the top first, then allow it  to dry for 12-24 hours. The caulking is rather heavy, and if you try to do the whole cake at one time, theres a good chance it will start to droop or fall off the sides. To combat this, I did the top first and allowed it to dry so that the next additions would kind of grab onto the previously dried caulking. 


For frosting the sides, you may be tempted to raise the cake onto a pedastal that allows the cake edge to hang over for easy frosting access...DO NOT DO THIS!! I tried it and had an entire side of frosting fall off the cake as it slowly drooped and fell off! The heavy weight of the caulking requires some planning.

Once the top frosting was dry, I began to apply frosting to the side of the cake. I started at the top edge and made looping ribbons of frosting to look like waves and the motion of water. I suggest putting your cake on a moveable plate or tray so you can easily rotate it for access. 


While the sides are still wet, press the foam sticker accents into the frosting. You may need to go back over each sticker, pressing it into the caulking if the edges pop out a little bit. The caulking surface will begin to dry quickly, so apply your embellishments as soon as possible, or  you will have trouble making them stick. 

Another option is using E600 glue to apply the accents once the frosting has dried, but it won't have the inset appearance, and will not look as much like a real decorated cake.

For Tina's special celebration, I included a rhinestone "50" on the side to commemorate her monumental birthday. I didn't put it on the top of the cake, because I want her to be able to display it all the time, and not feel like it was specifically for that particular party. 

Another "Happy Accident" is the hole in the Dolphin bead on the cake. Originally I tried to think of a way to fill up the bead hole, as it bothered me...but when I realized it was the perfect place to put a thin birthday candle, it was ideal!


To finish off the "Eye Candy" display...or "Eye Cake" if you want to get technical...Place it on a paper doily atop a beautiful glass plate, or cake pedastal. I am sure you will have more than one visitor that will want to take a big swipe of "frosting" off the cake!

Have fun making your own Cake-tastic Creation, and be sure to come back and tell me all about it!!

With Sugarplum Hugs!
Deanne 


Sunday, July 13, 2014

Terrariums & Miniature Garden Wishing Bottles


Terrariums are captivating. Whether its an air plant placed artfully inside a sand and shell-filled, seaglass jar, or a  jam packed glass orb with layers of greenery to compel you into the hidden secret garden...there is no denying the magic. I have always loved terrariums. The best part is, if you do it right...it practically takes care of itself! Now THAT is a plant world anyone can love, eh?! 


When I laid eyes on some teensy weensy terrarium bottles (on Pinterest, my guilty pleasure), I knew I had to try making them for myself. I already had the bottles from my many adventures in jewelry-making and craft supply hoarding, and the rest was a piece of cake!  You can find miniature bottles at any craft store or online for very reasonable prices. Start by getting some quality soil, pebbles/stones, and some tiny plants that willl thrive in a moist environment.


Once I started thinking about constructing the tiny terrariums, I realized that I had a voracious terrarium appetite, and needed a large one in my home, perhaps even a few! As long as I was planning on purchasing plants, it made sense to use them all up (most came in packs of 8 seedling plants together for $2.49 or were larger pots that I separated into individual plantings, such as the Irish Moss and the Elvin Thyme, my fav!!). 


I purchased some giant glass jars from Walmart for $9.44, and smaller ones for $7.44 (what a bargain!). Organic soil from Miracle Gro was my choice for the tiny bottle terrarium bases, using no rocks for drainage since there is virtually no extra space. For the large terrariums, I first placed a 1-1/2"- 2" layer of small pebble rocks, for water drainage. I found the rocks at the .99 cent Only store, and used two bags per large terrarium, and one bag for the smaller jar. 


Next I added a 1" layer of activated charcoal pieces to assist with purifying the water as it  recirculates through the natural evaporation/re-watering process within the terrarium. I purchased the charcoal at my local Green Thumb Garden Center for $5.98 per bag (I purchased two bags, thinking I'd need them, but man oh man, that stuff multiplies, and I still have half a bag left after making three big terrariums!!). You can also find charcoal in the pet fish area of pet supply stores because its the same stuff used in fish tanks.

For the next layer, you can add 1" of sphagnum moss, which will help keep the soil from filtering down into the rocks, however, I didn't feel I'd have adequate room inside my terrarium, so I skipped this step...after seeing the soil trickling its way down into the drainage rocks, I think I would make room for the moss next time!


The soil comes next...I put a 4" layer of organic potting soil (I just like a chemical-free environment, even if I am not eating it, I am potentially breathing it in!). Then using my hands or spoons, I made slight indentations for the plants. I planned on one in the center area, three around the edges, with Irish moss in between each of the outer plants. I then added additional soil around each seedling plant to make sure it was firmly packed into place. 

The Irish Moss went in next; it has a dense root system and is easily separated into clumps, which I just pressed into the soil already in the jar. There was no need to add aditional soil around the Irish Moss. The key, just as in any full size garden planting, be sure to press the soil firmly around the plant so no air pockets remain, as that is not good for the roots.


Once all the plants are in place, water lightly, a small amount at a time, trying to give each plant a gentle drink, but don't over water! You will see water gathering in the rocks at the base, and you don't want more then about 1/2" of water to end up in the bottom.


After you water the plants in, take a soft cloth or paper towel and wipe down the sides of the jar, removing all dirt particles and creating a clean viewing area. For the first day you can leave the lid off the jar to allow excess moisture to evaporte. Then put the lid on the jar (My large terrarium glass jars  do not have a completely tight seal, though on my mini terrariums, the cork stopper does create a tight seal which works very well...so far!)

When constructing the miniature terrariums, fill the jar approximately 1/4 with moistened soil and pack down tightly with a cotton-swab or the blunt end of a wooden skewer or chopstick.


Once you have chosen your tiny plants you will need to separate them into seedlings that will fit into the small bottle. You might need to trim the height if it is too tall. (In the photo below, Elvin Thyme is on the left, and a tiny clump of Irish moss is on the right).


Using tweezers, carefully plant your seedlings into the tiny bottle. Add extra dirt particles if necessary, or rearrange the dirt inside the bottle to cover the roots as best you can. Water with a drop or two, and if too much fills the bottle, blow in it to get some out, then leave bottle open for a day or two until the excess water evaporates. Place the cork to seal the bottle while there is still moisture enough to nourish the plant inside.


VOILA!!


You now have a beautiful miniature garden environment to admire, with very little attention to keep it alive. It requires medium to low light, but NO DIRECT SUN because it can get very hot inside the terrarium and possibly burn your plants as well, just like a magnifying glass. It is better to err on the side of too little water, than too much. When you have a small reservoir of water in the drainage rocks, it will circulate by evaporating up onto the glass jar lid and sides, then dribble down into the plants, keeping them nourished. 

As plants become too large for the container, it may be required to replace them, or trim them. Be sure to pick plants that like a low light and moist enviroment, such as: Irish Moss, African Violets, Ferns, Babys Tears, and others your garden experts can recommend. My personal addition and experimentation (which seem to be working well so far) is: Elvin Thyme, with teeny leaves and purple flowers with  bright (not direct) light. 


You can see that the plants are growing marvelously already, and they have only been living in their new home for a few days.

Careful planning of plant placement makes for a cozy little environment that can easily be embellished with miniature accessories to enhance the wonderment. If you are like me, and love to create imaginary worlds, this is a great way to do it! Just remember that any embellishments you place in the terrarium, need to be water safe because it will get very steamy and moist inside!

Monday, March 10, 2014

Let It Snow!!

Okay..I know I live in Phoenix, Arizona, where snow is reserved for snow-cones and not for sidewalks, but I can dream can't I?!! 

I'll just have to stick with glitter...and that's totally fine with me!

I love glitter. 
Reeeeally LOVE it...Like, I could probably find my bliss if I coated everything in my life in sparkly bright colorful flecks of metallic shimmeringness! 

(Is that even a word?!!) 

Yes, because I say it is...

So you can imagine the holidays at my house, I'm guessing? Yup, glitter EVERYWHERE!! Not necessarily on purpose, though...my hubby is getting a little annoyed at picking it off his own face...we aren't quite sure how it gets there, but it does! 

(Insert sinister "glittery" laugh here!)


I don't think I mentioned in my previous Snow Folk Jars post, how I made the arms, or in most cases they look more like "angel wings" making them "Snow Angels" instead of mere "folks"!!

I used a 1-inch wide strip of neutral or cream colored woven fabric to initially wrap around the jar neck, right where the head is glued on (after paper clay dries completely). I put a generous amount of tacky glue onto the glass, then started wrapping the fabric around, adding more glue as necessary. 


After the first few wraps, I glued and tightly attached "arms" with a tight wrapping several times around, adding glue to secure. I wrapped the various jars with different amounts of fabric, depending on the bottle shape. They told me when to stop! 

You can use any kind of (non-stretchy) fabric for the wrapping. You can even use burlap for a more "earthy" look, which would be adorable! Once you add the glittery "snow", even a colorful printed fabric would be fun and festive! 


For their "arms" (or Angel Wings), I used "crystal & pearl" beaded floral sprays and glittered fruit & leaf sprays, which I found at the craft store in the holiday floral trim section, but you could just as easily use small twigs and branches from your yard!

To add extra embellishments, I used "Eyelash" yarn (found in every craft store I've ever been in, at the crochet/knitting section), to wrap around the base of hats and at necks like "scarves" for an extra frilly look. I also tied jingle bells, tiny charms, and other trinkets 
around the necks, adding personalized name beads or words like "love", "peace", & "joy", for a special touch.


Today, it's time to "Snow" Glittery Wintern-ess onto my desert-born Snow Folks, and they are quite excited about it.


They're cute enough without the glitter...really they are...no one would even miss the glitter, I'm sure...but leaving off the sparkles is like giving someone a cupcake without frosting, and we certainly can't allow that, now can we? NO! Of course we can't!!


So, here is one last look at them before it "Snows"

(And if you are one of my "beloved's" and happen to see your name on a Snow Folk....it's just a figment of your imagination!!)


I used Liquitex Clear Matte Medium to paint onto the areas that I wanted the "snow" to stick. You can coat the entire head and body (leaving the glass jar clean for viewing contents), or you can just dab the stuff in random places, then sprinkle liberally with iridescent or white snowflake glitter. I like to use various types, colors, and sizes of glitter (as your imagination desires), to give a varied "snowflake" look. 


The "snow" becomes a way to unify the design, bringing all the kooky accessories and embellishments together into one cohesive design and display.


As you spend the next year gathering your doo-dads and accessories for next years Snow Folks, (and I promise you will not be able to get these cute guys out of your mind!)...don't limit yourself...think outside of the box...(toy blocks and tinker toys make great hats!)...check clearance aisles in craft stores, Party stores (for cheap kids toys and party favors), flea markets, garage sales, antique stores, hardware stores, your hubby's garage junk bins, Dollar stores, YOUR OWN CRAFT CLOSET!!

The embellishments can be anything you want or imagine...once you "glitter-ify" everything, you'll look like an Altered Art Genius to your friends!! There are no mistakes!

The ornate silver "hat" I used on one of my Snow a Folks, is actually the top of a perfume bottle that had long since been used and thrown away. But I kept the beautiful bottle top, thinking that some day I'd come up with a crafty way to use it...and I did! I absolutely lalalaLOVE the way it looks! 


(So this officially establishes me as a hoarding "enabler" as I encourage you to never ever throw out anything you might be able to use as crafting supplies....EVER!!)

But please don't tell your loved ones I'm to blame, okay?!! I have enough to deal with, just keeping my hubby from launching into orbit over my piles!!

I save anything and everything that has a remote possibility of being used in the future in one of my projects...the real problem is that I have NO LIMIT to the varied art forms, mediums, and avenues of creativity that I travel and explore, so my heaping piles of stashed supplies are growing endlessly...but it sure makes for great "shopping" in my own craft closet!


I hope you have enjoyed my adventure in "Snow Folk Jars" with me. You can find my original article on starting them HERE


With Big sugarplum Hugs!!
Deanne


Thursday, November 7, 2013

Altered Art: Snowman Bottles & Jars

I have this thing about bottles and jars. 
A BIG thing

All kinds. New ones, old ones, big ones, small ones, clean ones, dirty ones...They ALL get me excited!! 

Whether it's to make jams & jellies (pomegranate jelly is my favorite) or to create a delightful piece of jewelry using a teensy-weensy jar with wondrous minuscule contents or to make a fabulous "faux" Snow-globe creation using the big 'uns with fun miniature scenes inside...they all float my boat BIG TIME! 


I've been planning these snowmen for months. 
YEARS, actually. I finally started them last December but couldn't finish in time for the holidays so they sat patiently waiting for me. 

Sorry, Frosty! :/

So here is my crafting table of "Snowman-ia"  


I guess this certifies me as an official "Snowmaniac"?!! 
(My hubby is convinced!)


The teeny jars are from Tim Holtz scrapbooking supplies, that were purchased from my local Joann Crafts store. I sculpted tiny polymer clay heads to suit each jar size, using white (oven-bake Fimo polymer clay) for the heads and orange clay rolled into tapered cone shapes for tiny "carrot" noses. Then I made black clay specks or tiny "balls" for the "Coal" eyes and mouth. You could also use tiny rhinestones or glass beads to simplify the process.


They were baked as directed on the package (though I tend to lower the oven temperature when I bake my minis so they don't get burnt, or "tent" the items with foil to protect them). It isn't a bad idea to paint a coat of Mod Podge or Polymer Clay Matte Finish Glaze over the head to add extra security to the facial features. I suggest this because I have a faceless snowman head to show for my woe!


The tiny jars were filled with luminescent glass bugle beads and iridescent seed beads for simulating sparkling "snow", then the heads were glued in place on top to seal the jar. I use Aleene's tacky craft glue with great success. E6000 glue would also be a great choice. (The tallest tiny jar is actually a mini Tabasco bottle I've been saving for 10 years for just the right project!)


Before I finished embellishing the snowmen heads, I wire-wrapped 18 gauge wire around the bottles glass neck several times to secure it, then I formed a loop at the back, so it can be worn as a pendant or hung as an ornament. I made reeeeally long noses that probably won't survive being worn very long, so next time I'll be making "stunted" carrot noses! Lol


Once I had the wire securely in place (you can put a dab of glue for extra security), I finished the embellishments on the heads. Colorful metallic threads, yarns, and trim make great neck scarfs! For cute hats you can roll tiny "cones of wrapping paper to form pointed "party" hats in holiday designs, or use various mini silk or paper flower embellishments, mini hat charms, etc. 

Use your imagination and go wild!

To add a touch of glitzy "snow" Liquitex Matte Gel Medium (found in the fine art painting aisle at the craft store), and paint all over or just random blotches on your snowman's head, hat, neck and scarf, then immediately while still wet, sprinkle sparkling white or translucent iridescent glitter over it for the appearance of "snow".


There is no end to the possibilities...


And now, on to the Big a Boys!!!


As I mentioned in a previous post, I've become a hoarder of glass jars and bottles. My conscience for recycling coupled with my crafting obsession has created a monster! My box of jars has grown so much that it is overtaking my craft closet...I must do something about that...it is completely unacceptable...please remind me when it's time for Spring cleaning...Yes, I do believe I must hold a jar crafting "sit in"!!

Anywhoo....

On to my big Snowmen...


These particular Snow Boys utilize the bottles I have recycled, such as barbecue sauce bottles, vinegars, etc. They have long narrow necks which aren't suitable for embellishments within, but look fantastic when filled with Pearls, Crystals, Beads and Glitter. 

The outer trimming and embellishments make these Paperclay Snowmen special in a more a Artsy-Fartsy Shabby Chic kinda way. I la la la LOVE these guys!!

The bottles were first thoroughly washed and dried, removing all residual food odors...(who needs a snowman that smells like vinegar, right?!!) 

The heads were sculpted (loose exaggeration!!) by rolling Paperclay into balls that were proportional to the size of the bottle it is to belong to. Paperclay is a product sold near the polymer clay in craft stores. It is very smooth and creamy white, and air dries. It is smoother than Celluclay papier-mâché (which is what I prefer to use for my bigger Mason Jar Snowmen). 

I didn't use a styrofoam ball center because these particular heads are only about 2-inches in diameter, and though it took several days to dry completely, they didn't crack too much, which I had been worried about.

For the noses, I sculpted "carrots" from Fimo (orange) oven-bake clay, then baked them and glued them to the heads using Aleene's Tacky Craft Glue. You could also sculpt a "carrot" or "nose bump" from Paperclay and then paint it orange. 

For the eyes and mouth I used those paper fasteners by Tim Holtz (used in scrapbooking to attach multiple papers together) and I just stuck the ends into the clay while it was still soft. Then I let the heads dry completely.

After filling the bottles to the desired fullness with various size faux pearl "snowballs", iridescent beads, and snowy-ish baubles, I glued the head in place, making sure not to let the glue run down the inside of the bottle neck.

Now comes the fun!

To accessorize the snowmen, I first made (or found) a hat...every self-respecting snowman needs a hat, right?!! There are endless ideas for hats. I use everything from cake decorating tips (which are perfectly cone shaped, shiny silver, and even have a hole in top for adding extra embellishments), to kitchen gadgets or broken toys, holiday wrapping decorations, etc.

 Another great idea for hats is to use the clipped finger ends of old worn out knitted gloves, to use them as "knitted caps". Just roll up the bottom edge like a cuff and voila you have a knit cap!


...And every snowman needs a scarf, don't forget that!! 


You can crochet or knit one, (if you're feeling über-inspired!) or you can tie strips of fabric, trim, lace, etc., around the bottle neck, to give your snowman that cozy feel. I like to use the "eyelash" yarns to give them a frilly look, and extra neck wrappings of metallic pipe cleaners for a festive appearance and fun swirly curly wired curlicues for interesting shape. 


Once you have all the trimmings in place, it's time to "Let it Snow".
Using Liquitex Matte Gel Medium, dab splotches in various places that you want the sparkly "snow" to stick, then sprinkle liberally with iridescent clear glitter "snow". 

Allow to dry completely for several days to insure a solid structure.


For my "Snowman Dream" Jars, (using large Mason jars), I have created a faux snow globe effect (without the liquid). Using mini holiday decorations, I create scenes within the large Mason jar. Glittered animals, tiny snow babies, sparkling trees, wrapped gifts, it all looks amazing inside of a snowman's tummy! Once you start, you can't stop!! At least, I can't stop!!

Once the little scene is in place (glued securely with E6000 or Tacky glue) I glue a layer of additional glitter or sparkly beads to cover the bottom of the jar evenly.

For the Snowman heads on the big Mason jars, I use Celluclay (paper mâché base powdery substance that mixes with water to form a moldable air-drying clay) to cover styrofoam balls in the appropriate size to fit the jar. For quart size jars I used a 3-inch styrofoam ball then covered it with approx. 1/2-inch of papier-mâché over it. The styrofoam ball helps with quicker drying time,  and assists in preventing cracks when drying.

The Celluclay papier-mâché leaves a rough textured surface (compared to Paperclay which is smooth), and I really like the texture for the big snowmen. 

For the nose, I add a small raised "bump", which I paint orange for his "carrot" nose, once the head is completely dry. For eyes on these guys, I like to use black 10mm rhinestones (plastic ones that come in asst. sizes), and for the mouth I use 4mm black rhinestones placed to create a happy smile.

Once the paper mâché is totally dry, glue it securely to the jar opening. If there are gaps, they can be disguised with "scarf" placement. I embellished my chilly pals with random unexpected charms and accessories. A broom made from a cinnamon sticks and twigs inspires endless possibilities!


To personalize my Snowmen I made beaded namesake charms using alphabet beads and crystals to trim. Trim, lace, ribbon, and charming embellishments add whimsy and style.

Snow accents are created as for the previous snow folks, with glitter over Liquitex Matte Gel Medium, finishing off the paper mâché Snowmen (& Snowomen, too, of course!) with fanciful twinkling wonderment to delight one and all!!


I hope you have as much fun making these Snowman Jars as I did!

With Sugarplum Hugs,

Deenie

PS. Be sure to comment below and let me know how your snowman jar crafting is going for you!